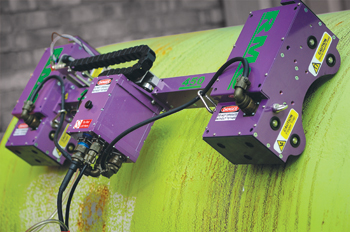
 Silverwing’s RMS ARC scanners
UNTIL recently inspection of pipe work was typically carried out under the API 570 piping inspection code which is primarily aimed at pipe work within the petroleum refining and chemical process industries.
Whilst API 570 will ensure safe operation within terminals, it is somewhat more stringent than necessary as it covers pipe that may operate at higher temperatures and pressures, and be subject to more aggressive internal processes.
API recognised this and in 2011 released the new standard API 2611 specifically for inspection of terminal pipe work operating up to maximum 300 psi at ambient temperature.
One of the most important decisions in an effective inspection plan is the choice of thickness measurement locations (TMLs). As API 570 section 5.5.3 states
“In reality corrosion is never uniform, so additional TMLs may be required. Inspectors must use their knowledge of the process unit to optimise the TML selection for each circuit, balancing the effort of collecting data with the benefits derived by the data”.
Finding the minimum thickness at that location can be problematic and time consuming. This requires accurate measurement and careful scanning to find the actual minimum in an area.
Any inspection needs to balance the cost of data collection against the benefits derived. Silverwing recognises this and the increasing pressures to perform detailed and accurate inspection but within a suitable time scale which is acceptable to terminal operators, says a Silverwing spokesperson.
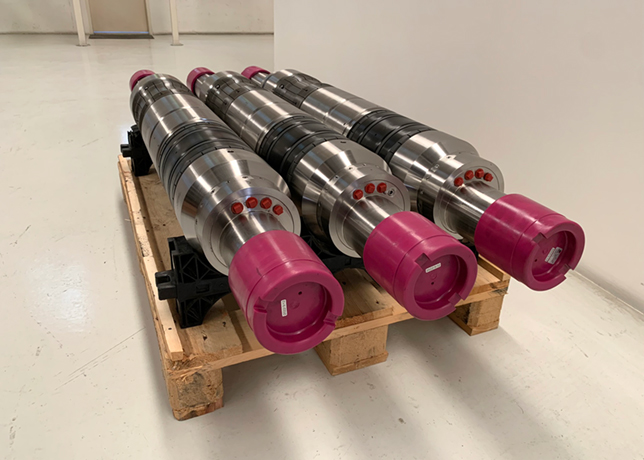
For both maximum accuracy results and maximum probability of detection (POD), Silverwing recommends its RMS ARC scanners. The RMS2 ARC 24 -36 and RMS2 ARC 36-48 are designed to operate longitudinally on pipe diameters from 24-inch to 48-inch.
The combination of longitudinal pipe scanning and 60-deg scan width brings a major improvement to inspection efficiency for pipeline and slug catcher applications while maintaining the high standard of data quality associated with the RMS2, the company spokesperson explains.
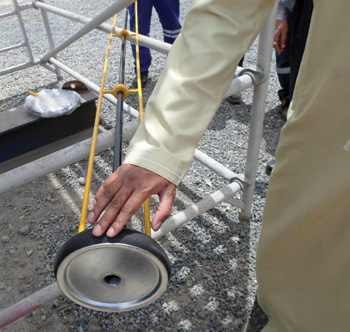
As an alternative for small diameter pipes Silverwing recommends its R-scan ultrasonic system with dry contact wheel probe system, which it says is ideal for 360-deg on stream gauging without removal of coatings, or along the length of a pipe or around the outside of bends and elbows, recording the thickness every 1 mm.
“The system is quick to use, gives more reliable results by recording thickness data along a scan increasing the probability of detection, and provides a record of the inspection,” he says.
“Silverwing’s MFL Pipescan is the perfect tool for simple, fast and effective qualitative corrosion screening for pipes form 2-inch up to 94-inch diameter with high POD of corrosion at a significantly lower cost than other techniques,” he adds.

